Wood Gas Stove
JANUARY 12, 2025
I recently stumbled upon the hobby of DIY camping stoves. The most popular designs are aluminium can alcohol stoves (side note: what an amazing soundtrack choice), but the designs that interested me the most were the ones that could be fueled by just a handful of dry twigs. Specifically: wood gasifier (or "wood gas") stoves. These stoves burn wood as fuel, but what differentiates them from simple wood stoves (like "hobo" stoves) is the secondary burn phase.
The smoke let out by wood burning is an indicator of unburnt fumes and therefore a bit of wasted energy. In the secondary burn, a wood gas stove ignites these fumes as they travel upward to create a hotter, cleaner flame than a regular wood stove. The wood gas stove achieves this by drawing air up through the hollow sides of the stove, heating it, then mixing the air with the fumes of the primary burn to create the secondary ignition. This video is an excellent tutorial, and my design is essentially just recreating it with a few can substitutions.

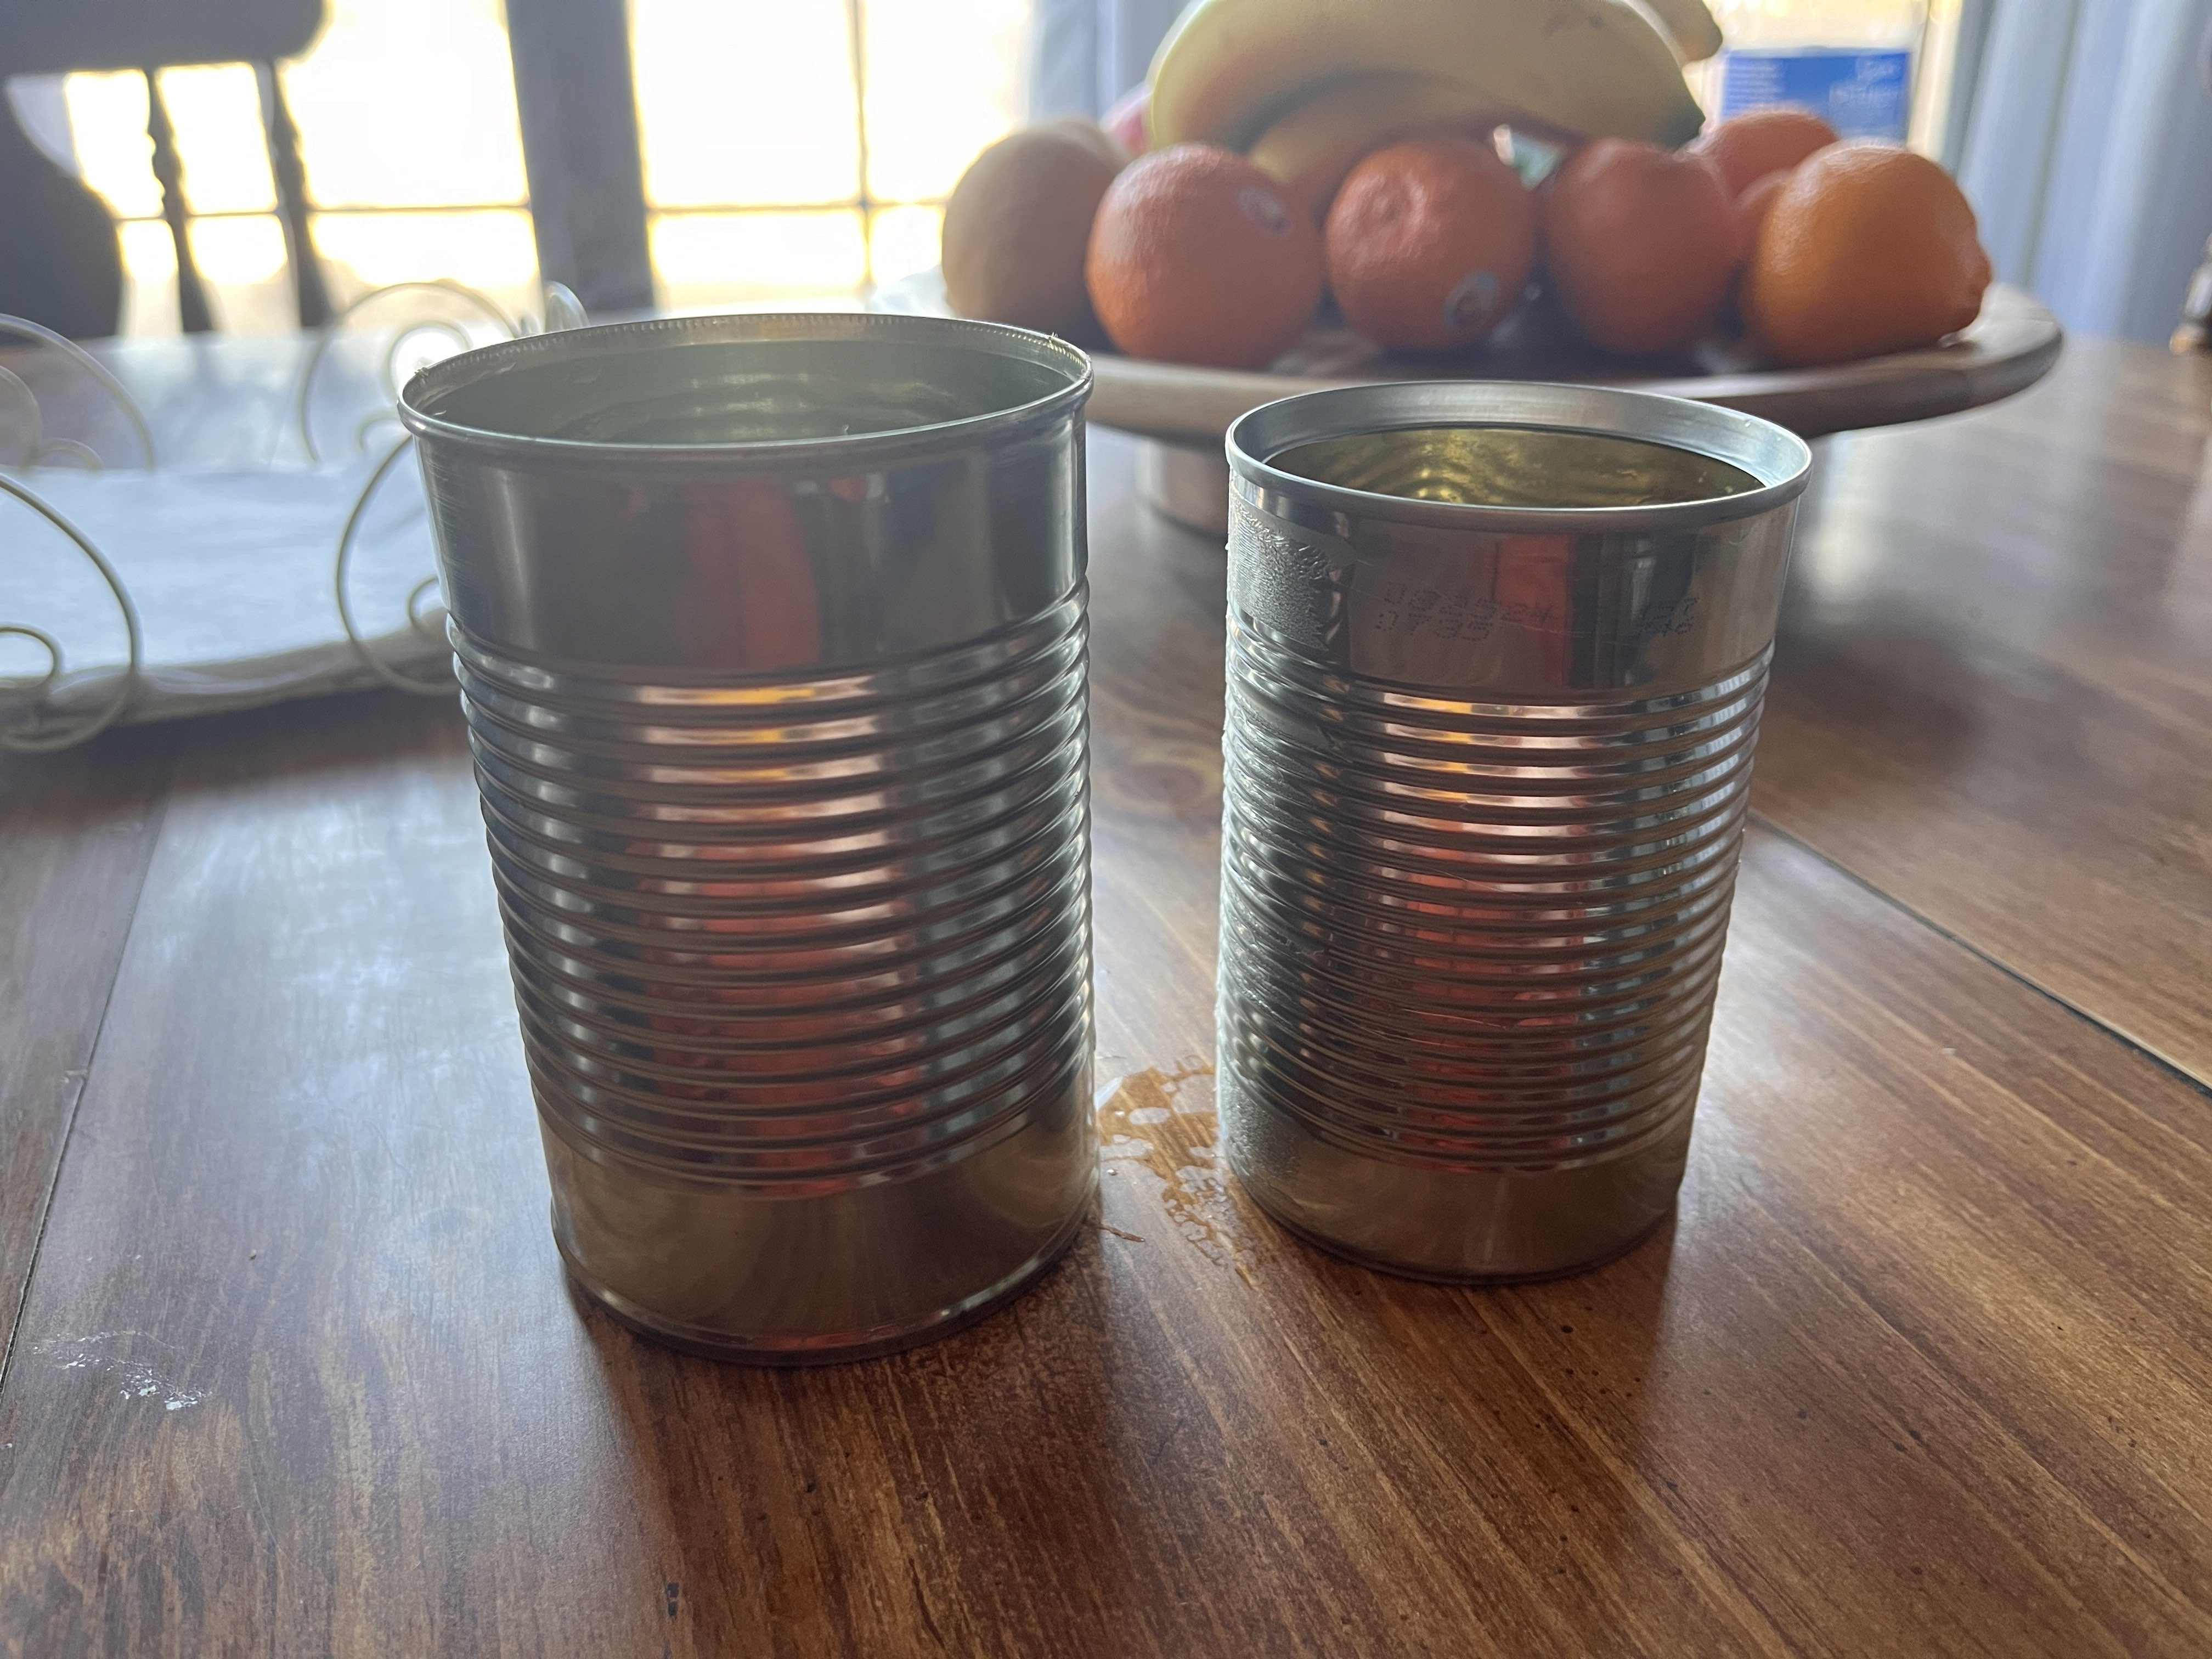
These two cans form the outer and inner walls of the stove, respectively. The larger one is a 15 oz. can, and the smaller is 10.5 oz.

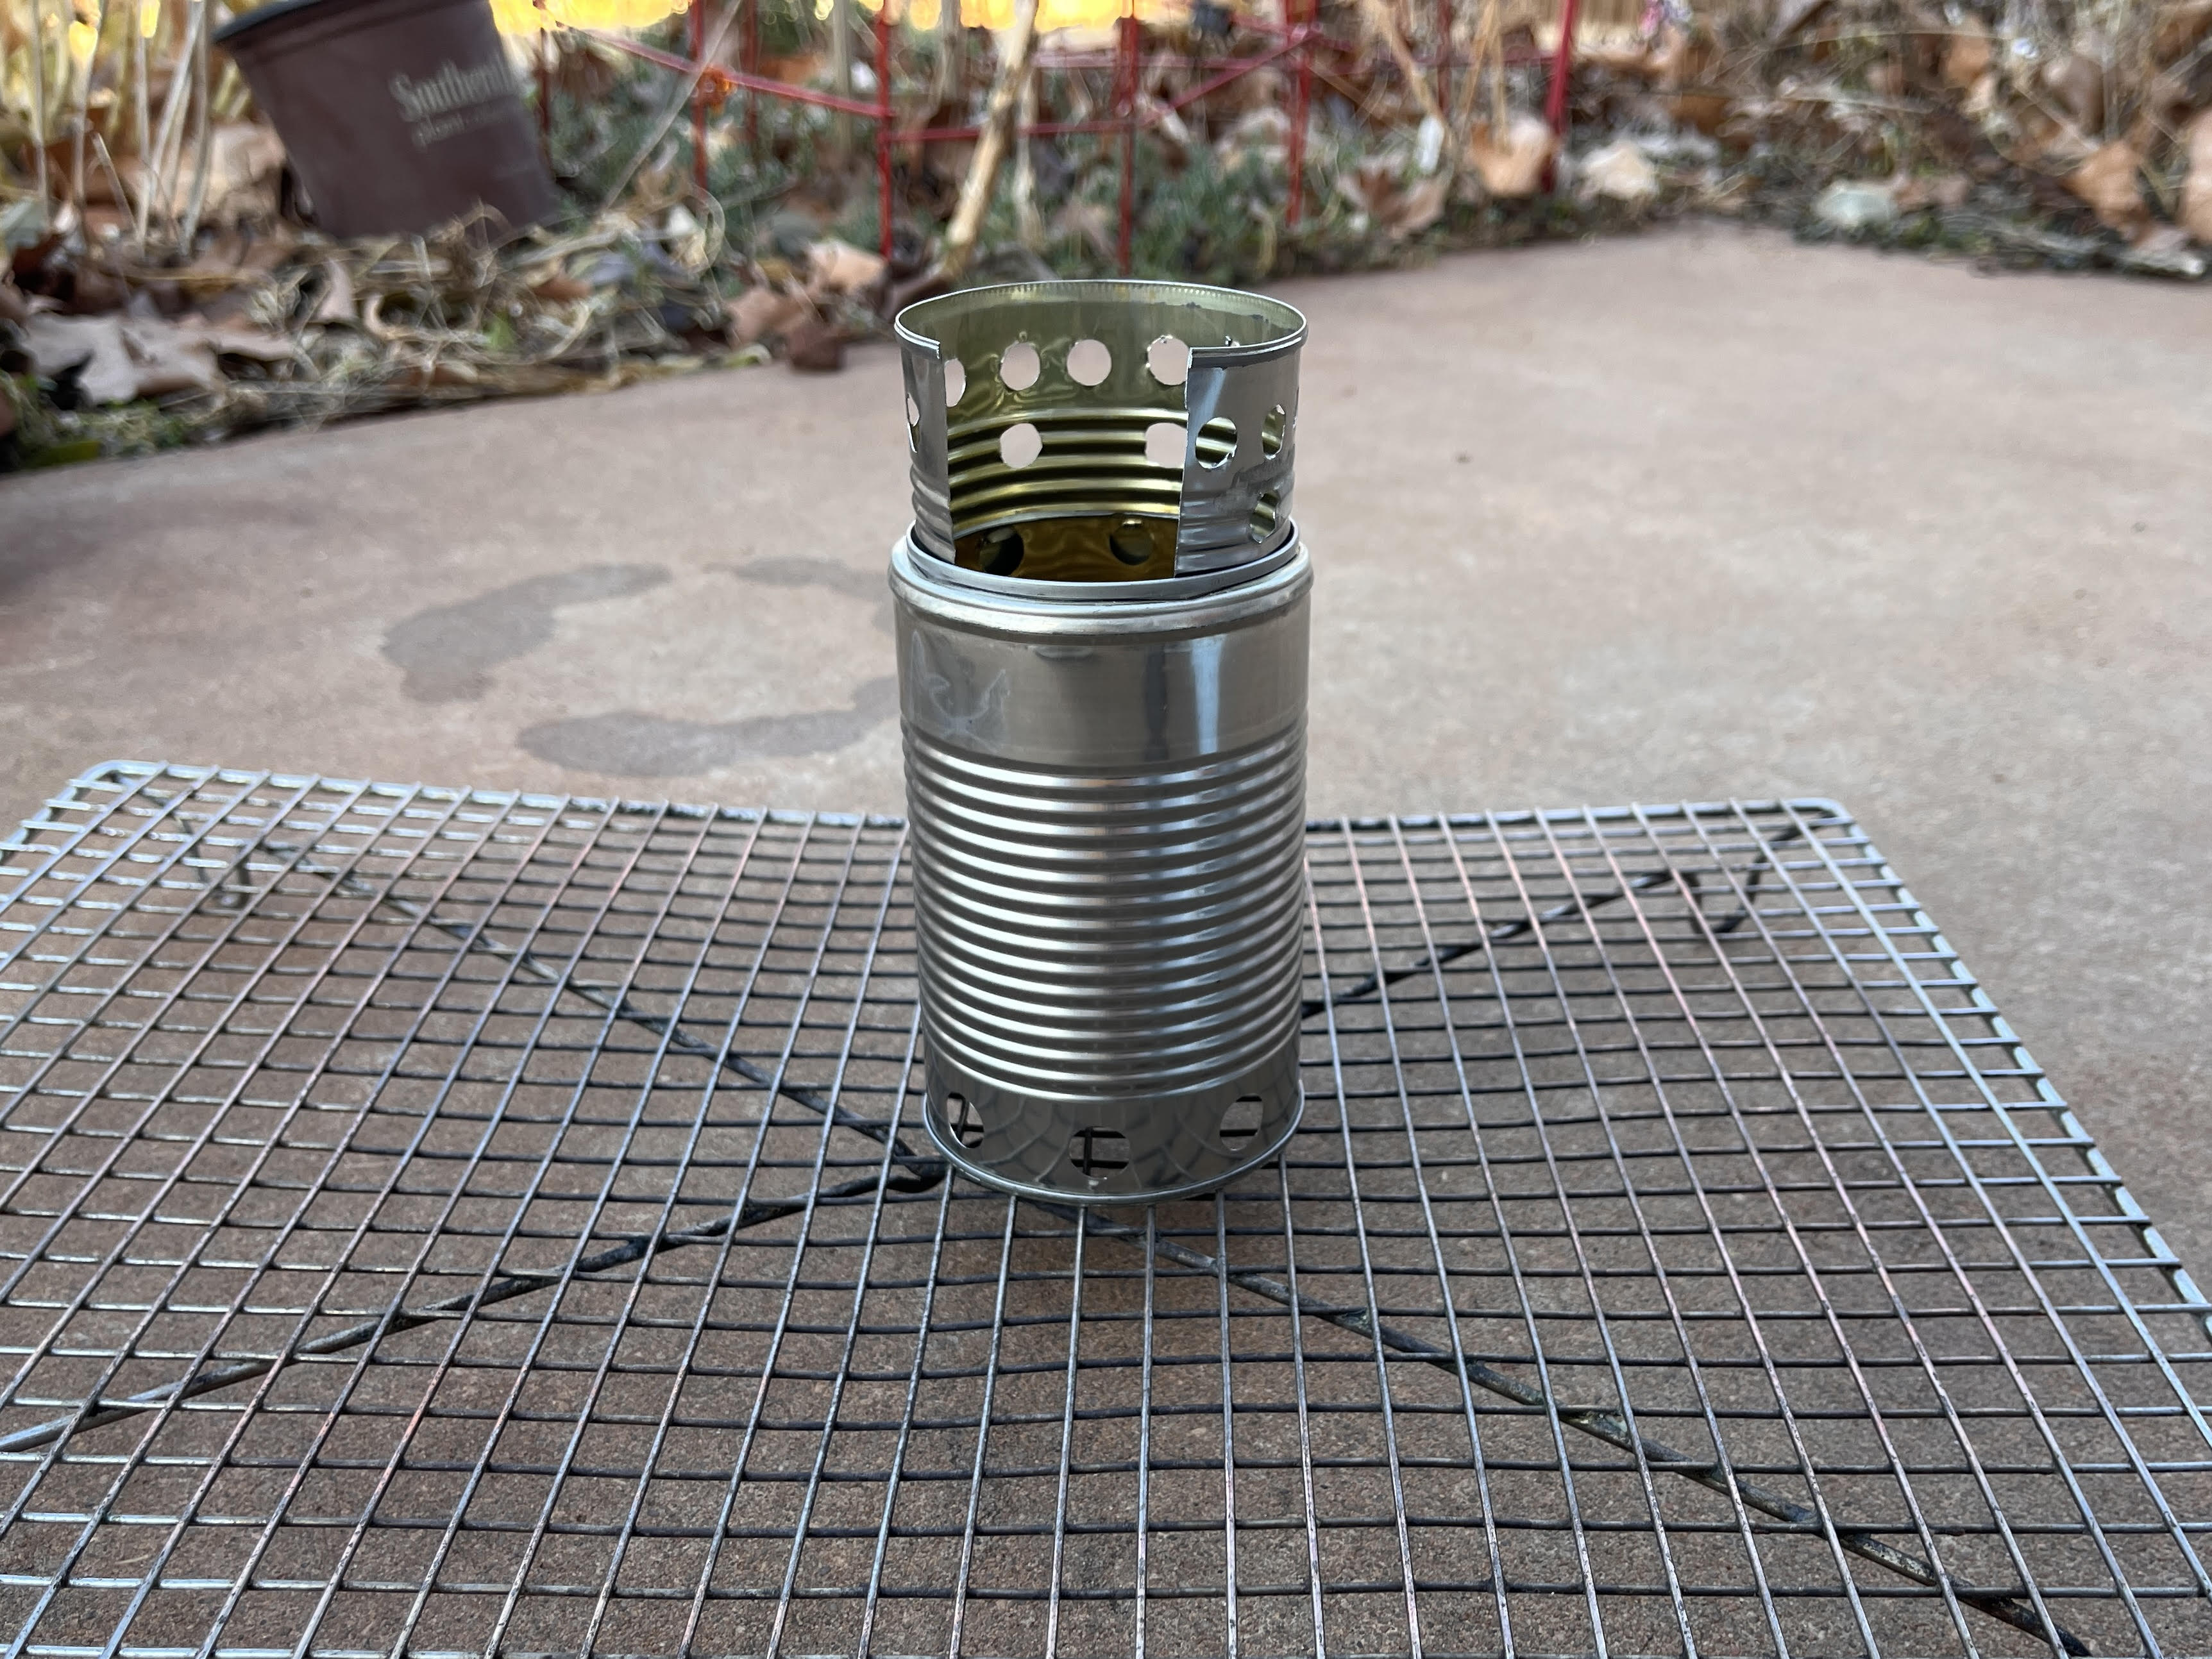
This is the final assembled stove. The pot stand/windscreen is made of another 15 oz. can. The only tools required were a pair of tin snips, a drill and stepped bit, and a Dremel. No adhesives or hardware either; the smaller can is held in quite snugly.
Getting the secondary burn to ignite takes a bit of skill, but with a the help of an isopropyl alcohol-soaked cotton ball (and all twigs from my yard), I was able to boil 8 oz. of water for a cup of green tea! Starting at 65 degrees F, the stove took 12 minutes to bring the water to a boil. Not the fastest stove in the world, but I'm quite happy with it. One consideration is that the wood I used may not have been optimally dry. Also, there the wood fuel must be short enough to create fumes where the air outlet is.

